My favorite group of sources is the land records. As a U.S. researcher whose various family lines moved across the country, these records help me place someone in a specific time and place and sometimes help me connect family members.
When I login to FamilySearch (accounts are free), the menu gives me several options. The Wiki is a fantastic resource to learn about records available in a community. I often use the Wiki, but the Catalog is my 'go to' resource.

On the CATALOG screen, I type in the name of the county and then select the one I wish to work with from the suggested list.

For locations, FamilySearch works from large to small. Since I may not always type the location in correctly, I use the county name to generate a pop-up list and pick from the list. Then I click the SEARCH button (lower on the screen).
A new screen opens showing a list of the various catalog subject headings for the selected location.

To work with the land records, I scroll down the list looking for the LAND AND PROPERTY heading. I click on the grey triangle to the left to expand that section.
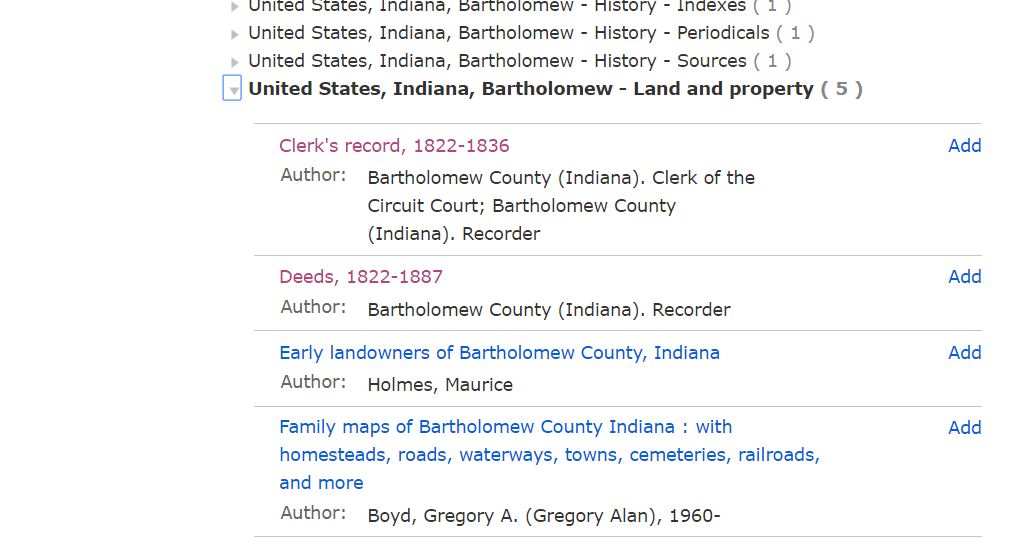
Since I want to work with the actual deeds, I look for items from the county recorder. When I click on the desired item, it opens another screen listing the various records available.

Note the camera icon to the right of the Film and DGS numbers. That icon determines where I have to be to access those records. If there is just a camera without a key above the camera, then I can access those records at home. However, when there is a 'key' above the camera, the record is 'locked' and I have to access it at an affiliate library or a family history center. (Some locked records are only available at a family history center.)
Thankfully, the Seneca Free Public Library is an affiliate library. Thus, I can often pack up my laptop and travel less than a mile to continue my research. At times, I must plan a trip to a family history center to access records not available at my local library.
While in the library, I use Scrivener to keep notes (a very informal research log). With land records, I start with the various indexes. Sometimes these are separated by Grantor (seller) and Grantee (buyer) and sometimes they are listed as 'general index'. Over time, I've learned that a 'general index' usually contains an index to both the grantors and grantees. Thus, I have to study the index to figure out whether the grantors and grantees are listed on adjoining pages or in separate sections. As I use the index, I take notes -- including image numbers. The image numbers help me 'retrace' my work or go back and look for something different.

Once I have completed using the index, I then locate the set of films containing the volume I need.

Again I take notes in Scrivener, making sure to record the description of the record -- including the deed volume(s) and film number.

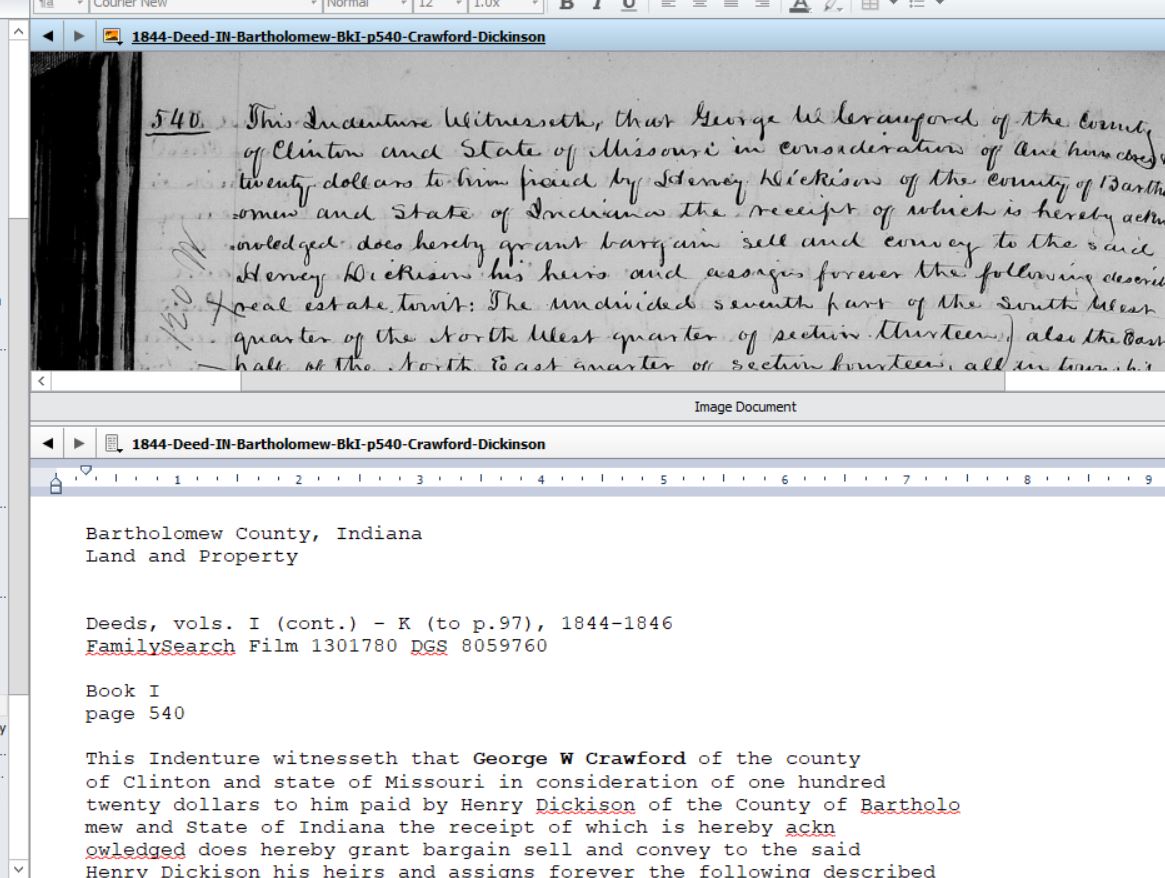
When I find the correct deed, I download it. I follow my naming convention:
Year of record-Type of record-State Abbreviation-County-Vol-Page-Name

I haven't been recording the file name in my Scrivener notes, but that is something that I probably should be doing. When working at the library or a family history center, I do not stop to work with the record. Instead I continue looking for more records.
Once home, I download the files off of the flash drive into my genealogy folder. I also import the images into Scrivener.

Within Scrivener, I use the dual screen feature to transcribe the record.
Once transcribed, I share my work by creating a blog post for the record. As I work with the record, I am evaluating it in relation to other records I have collected and determine whether it is for a member of the family I'm researching. Once I figure out the 'who' of the record, I attach the record to that individual in my RootsMagic database. I tend to use the 'Land-Purch' or 'Land-Sold' individual fact types versus the family fact types.

As I enter a land record as a 'Land-Sold' or 'Land-Purch' fact, I copy the description of the land into the Description field.

To add the source, I created a template for FamilySearch records. I've used Elizabeth Shown Mills' book Evidence Explained as guidance for this template but have to admit that my citations are NOT perfect.

Using this template, I create a source for the set of records.

I copy my transcription from Scrivener into the DETAIL area of my source and attach the image to the media area.

Since I wait until I am home to evaluate a source and determine who to attach it to, I cannot use the 'ATTACH TO FAMILY TREE' button.

So, I use the ability of RootsMagic to add sources to an individual on FamilySearch. Since I have already connected the individual in my tree to the corresponding individual on FamilySearch, I click on the blue tree icon to open the FamilySearch Person Tools. I then click on the SOURCES tab to compare my sources in RootsMagic to the sources available on FamilySearch.

Since my sources don't 'match' up with the FamilySearch sources, I carefully evaluate the two sets of sources to determine whether I have a 'new' source to add. I click on the box next to a source I want to add and select the information that the source supports.

For deeds, I usually just select name and hit OK. Then comes the 'reason to attach source' window.
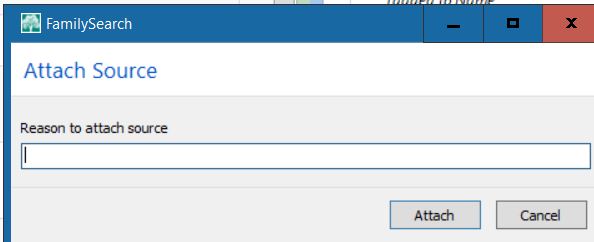
This is where I struggle. When I first started with FamilySearch, this box kept me from adding sources. I've since gotten over my hesitation and put in what often seems an 'obvious' reason such as 'deed for sale of land by George W. Crawford'.
I've also started uploading the image of the record under the 'Memories' tab.

By uploading the image under memories, others can access the record without having to be in an affiliate library or family history center.
Since I have my tree on Ancestry, I use RootsMagic's TreeShare feature to upload the record to Ancestry. In terms of these land records, I am selecting the 'Land-Sold' (or Land-Purch) event and 'adding' it to Ancestry.


I've now completed the process of working with this one land record.
Some might question why I go to all of this work. For me, following land records has allowed me to not only track families as they move across the country but also to establish relationships. In terms of the example used, the land record indicates that there were SEVEN people with shares to this piece of land. Since both parents died at approximately the same time, that suggests SEVEN children. I've only identified SIX and most trees only show THREE or FOUR. Without these particular land records, we would never know that we should be looking for SEVEN children.
Join me in the fun of using land records and see what you uncover about your family.
No comments:
Post a Comment
Note: Only a member of this blog may post a comment.